介绍
在使用linux的小伙伴肯定知道下面有个nmap的工具,他可以端口探测,功能强大。那么Windows系统下默认的端口扫描探测命令有吗?为了使用方便,小编就写了个小工具,方便查找使用,测试可以在常用的windows平台使用。
使用方法
一、下载软件
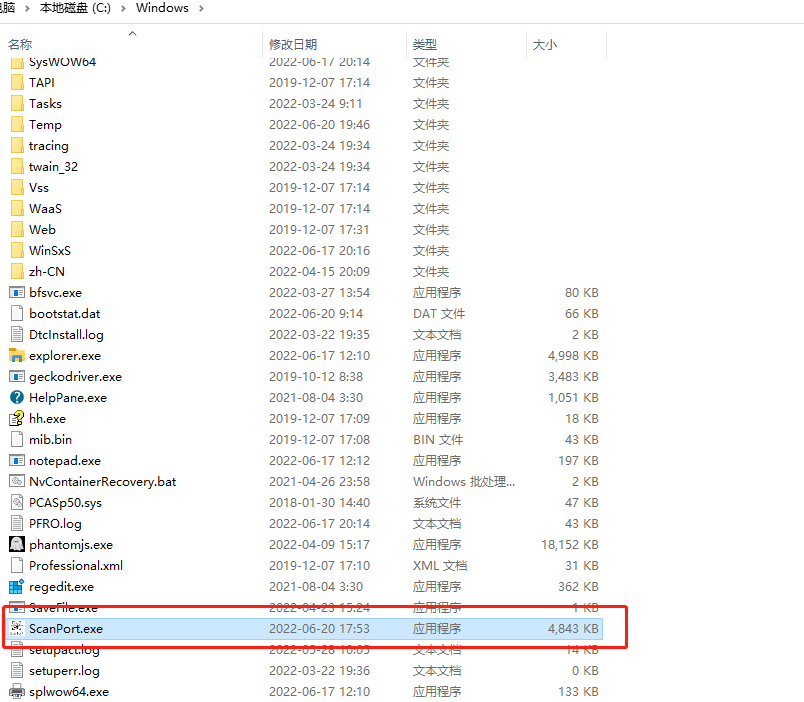
从本页下载scanport端口探测小工具,复制到系统盘Windows目录,例如:C:\Windows 。

二、使用方法
点击“开始”->“运行”->“输入cmd,打开cmd界面”

参数
D:\Users\Administrator>scanport -h
Usage: Example: python scanport -i 127.0.0.1 -p 80
python scanport -i 127.0.0.1 -p 1-100
Options:
-h, --help show this help message and exit
-i TARGETIP, --ip=TARGETIP
scan target IP
-p PORT, --port=PORT scan port or port range (1-100),default 80
-t THREADNUM, --thread=THREADNUM
scan thread number,default 100
其中
-i 目标地址,必选,可以是ip地址,也可以是域名
-p 端口,可选,端口默认80,可以是指定端口,也可以是一个端口范围,格式:1-100
-t 线程数,可选,默认100个
三、使用举例
scanport -i www.baidu.com
scanport -i www.baidu.com -p 80
scanport -i www.baidu.com -p 1-1000

四、下载地址:

4.1、微信公众号搜索 《 数之灵 》 或扫描二维码关注我们。
4.2、微信回复数字 269728
程序源码: https://github.com/zhangnq/scripts/blob/master/python/scanPort.py
下载
百度云
链接: https://pan.baidu.com/s/1YezVhnkc3IbcriiCXmqeFA
提取码: js22